E46 328i The Mystique Blue Thunder...
- Thread starter Fireuz
- Start date
-
Click here to become an Official Member of BMW Club Malaysia Download Form
You are using an out of date browser. It may not display this or other websites correctly.
You should upgrade or use an alternative browser.
You should upgrade or use an alternative browser.
Alex5522
Club Guest
- Joined
- May 28, 2010
- Messages
- 2,324
- Points
- 38
http://www.flickr.com/photos/55990750@N03/5183142905/
Really get shock when read through your thread show that u wash your engine this way.
Really get shock when read through your thread show that u wash your engine this way.
Fireuz
Club Guest
- Joined
- Dec 9, 2008
- Messages
- 754
- Points
- 18
Thanks to initialM cause I'm dare to wash my engine since I'm reviewing his showroom. Just want to share few steps:
1) Clean the excessive grease or oil that you can observe using dry towel before wash, so that it will simply be washed off during the wash step.
2) If your OBD plug (OBD1) is in engine bay, please do cover it up atleast with plastic. We don't want it to be flooded. Also, take extra precaution to the electronics component that located in a separate compartment in the upper left- or right-hand corners of the engine bay, please keep those electronics box close tightly. Otherwise, keep water out of this area to reduce the possibility of damage to these vital engine components.
3) Just swing the water hose at the engine bay instead of pointing at one spot. If there have dirts that can't be removed, try to wipe it later on.
4) Try to avoid wash the engine when it's in hot condition. It will damage the sealing/rubber since those parts will expose to immediate temperature changes.
5) If you're not confident to do it, better don't do it. Just wipe the engine cover with a damp towel to clean off any dirt or dust. We just want to see the engine to looks cleans. Don't worry, clean engine nothing to do with it's performance
6) Good thing about to use the silicone wax (usually we put at tyre after wash the car) is that; the engine bay will look more shinning and bad thing it'll trap the dusts. So kalau nk enjin berkilat, rajin2la mengelap ye, kengkawan.. hehe
I also will take opportunity to spray my engine bay using air jet to remove the dusts during servicing the car.
Any other idea, let's share it together gether..
Happy cuci cuci and mngelap kengkawan~~!!
Fireuz
Club Guest
- Joined
- Dec 9, 2008
- Messages
- 754
- Points
- 18
bmw7833;585538 said:No, he is asking what type of shampoo Fireuz is using until the engine bay full with foam..:4:
That's a "foam party" day for her... Let she happy a bit on that day... I'm using 5 in 1 shampoo, with conditioner and foam reinforcer.. haha...
Fireuz
Club Guest
- Joined
- Dec 9, 2008
- Messages
- 754
- Points
- 18
SMG Steering with Paddle Shift Retrofit
My next mods on my Queen. Bought the brand new SMG steering with Paddle Shift to replace the original E46 328i multifunction steering. Enjoy the retrofitting process!
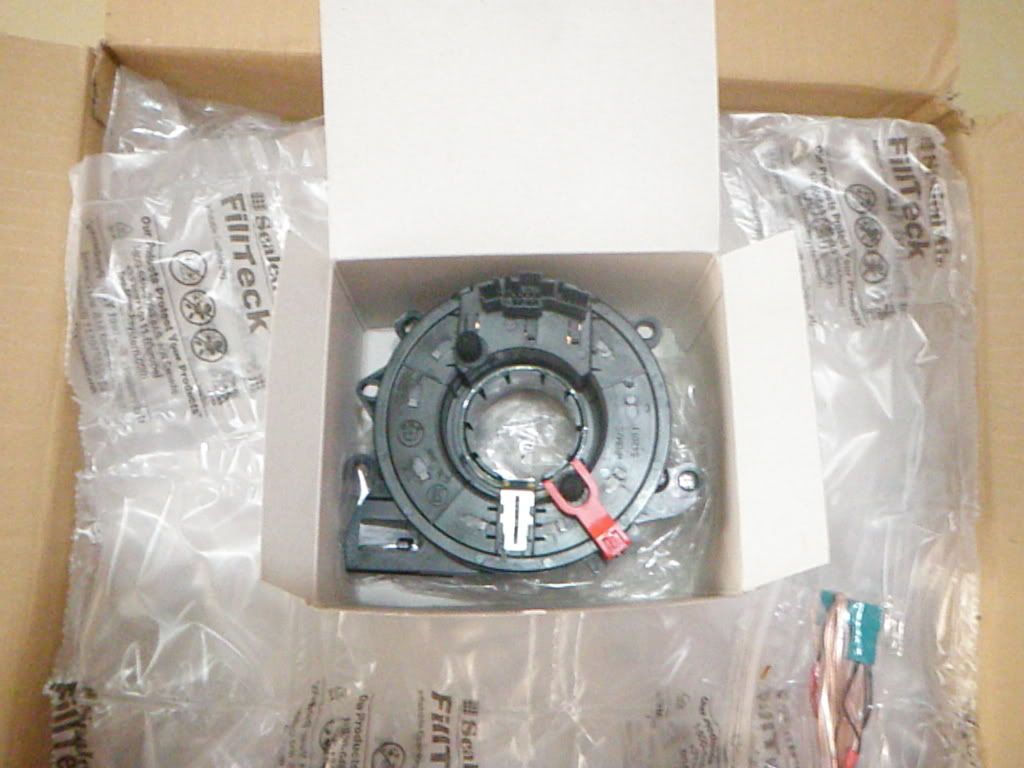
Received brand new SMG Steering with Paddle Shift. Bought from eBay (Authorize BMW dealer from US)

Manufactured in 2010
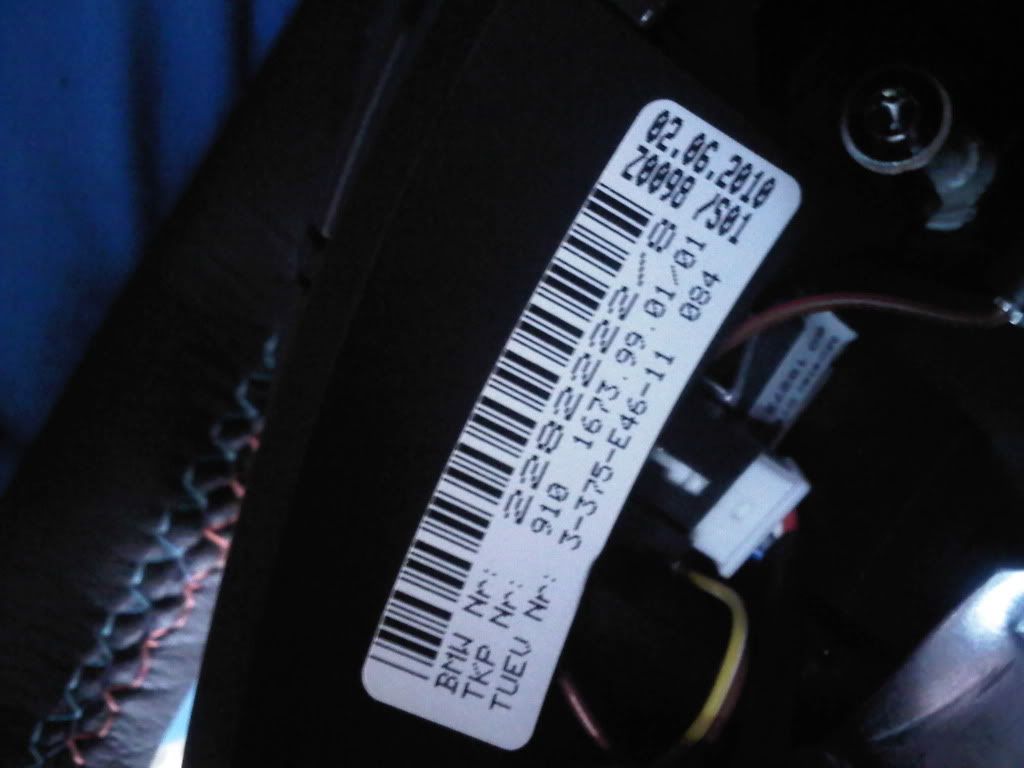
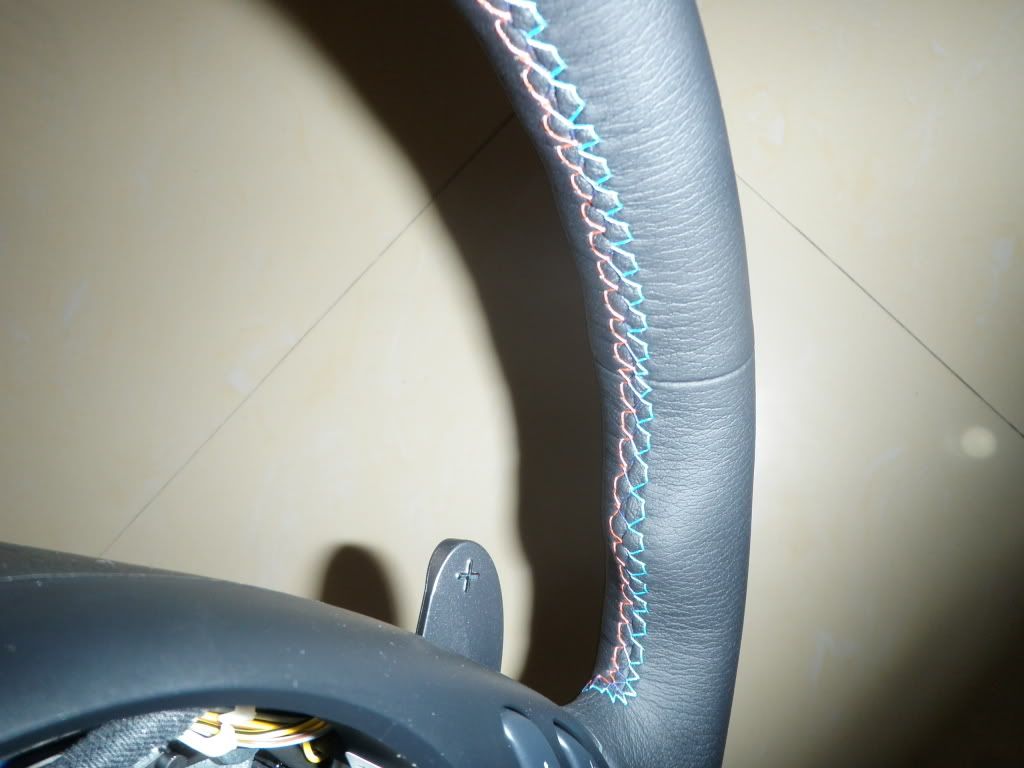
Came with tri-stitches lining!
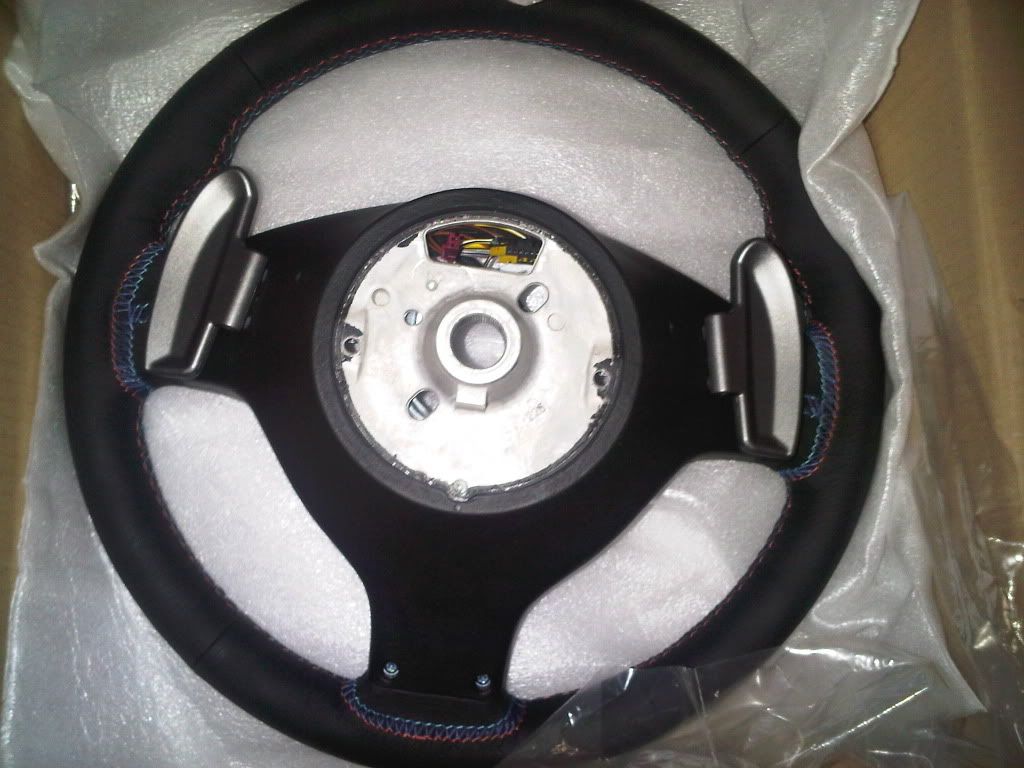
Backside of the steering
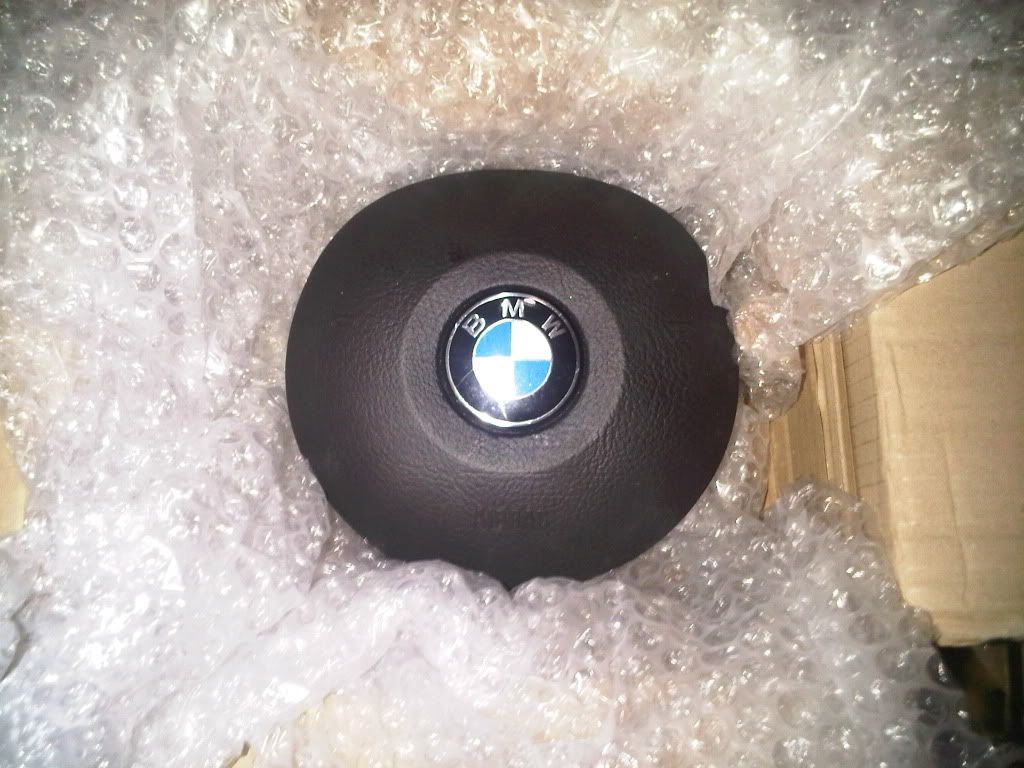
Brand new airbag from the same dealer
New clock-spring for the SMG steering to non-SMG car (Steptronic)
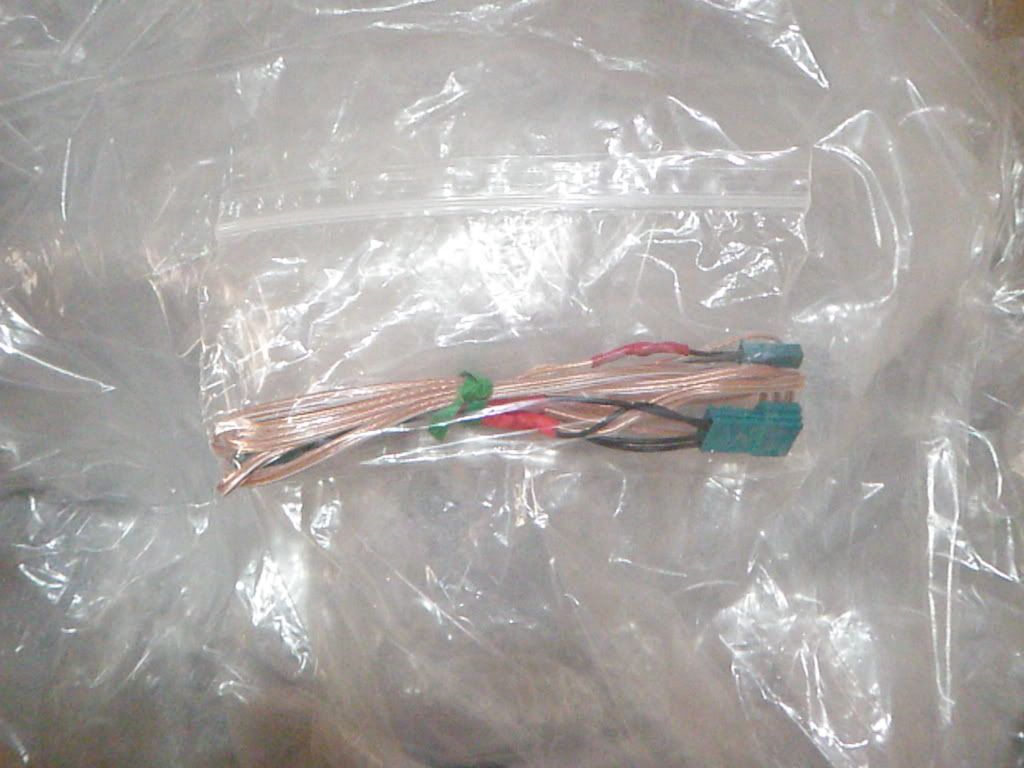
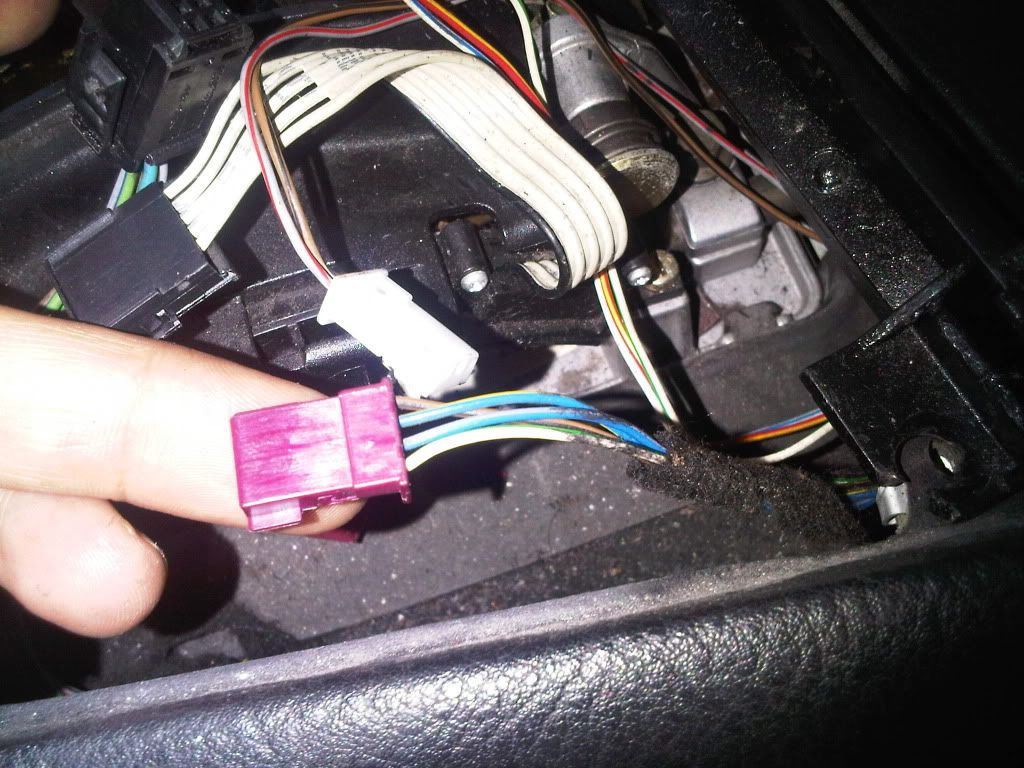
Wiring harness for the paddleshift (will tap on the current steptronic mode under the gear console)
Step 1: Remove the original airbag. Looks like really old car though
You'll need the star key driver to remove this
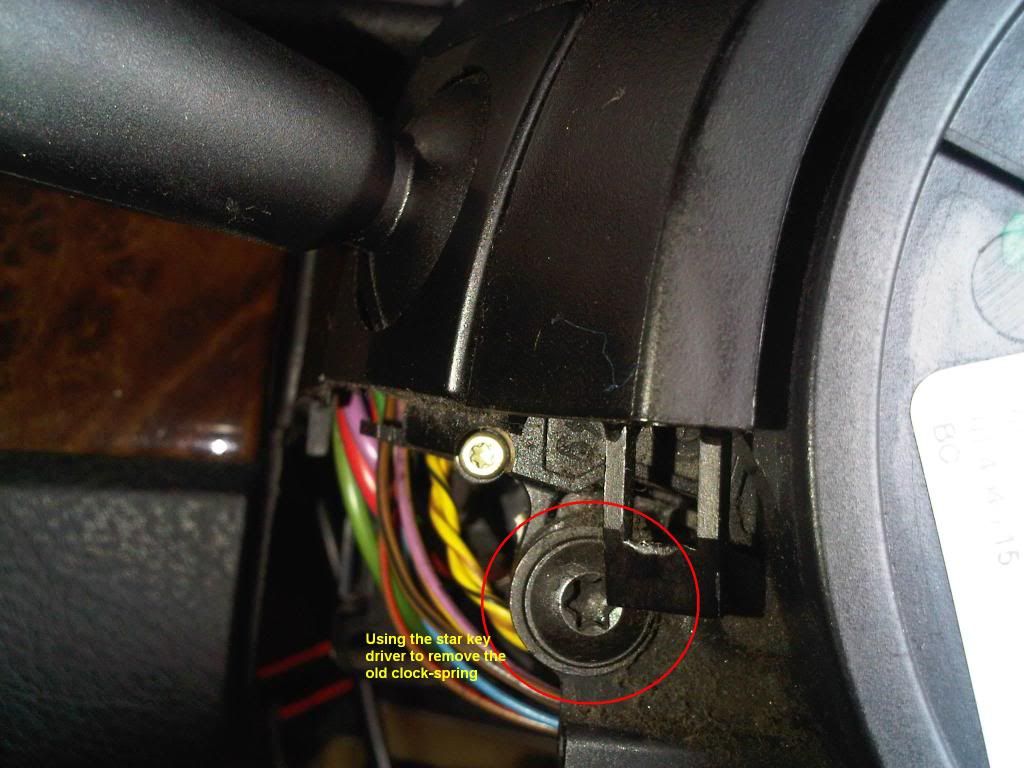
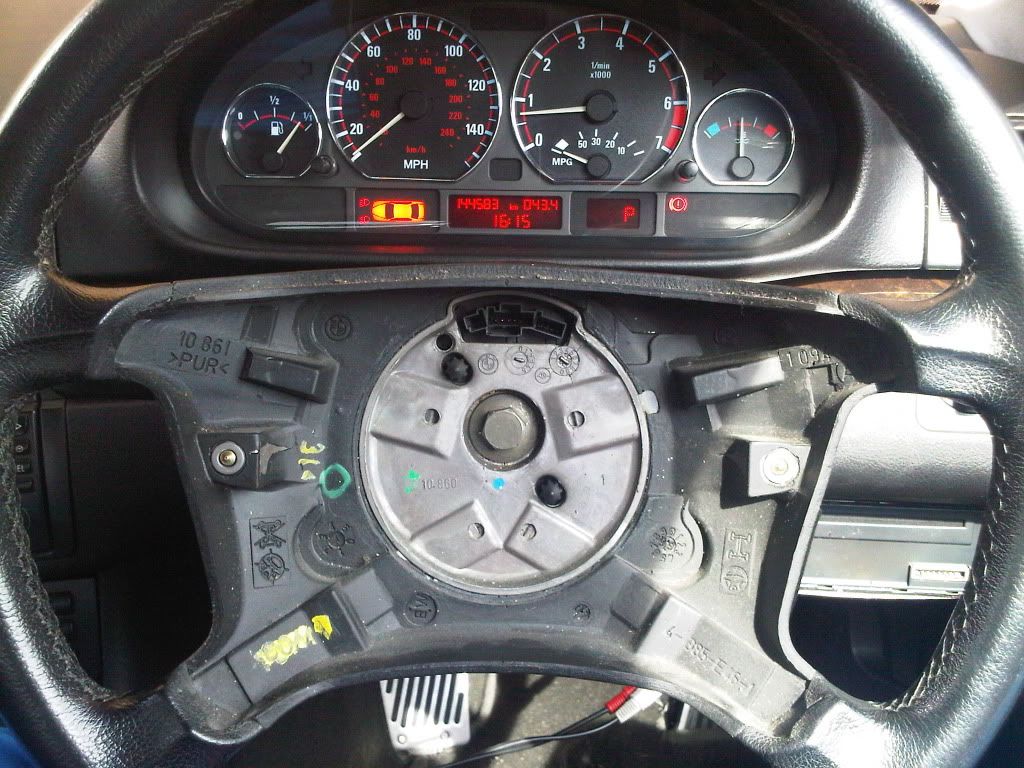
Step 2: Remove the original clock-spring
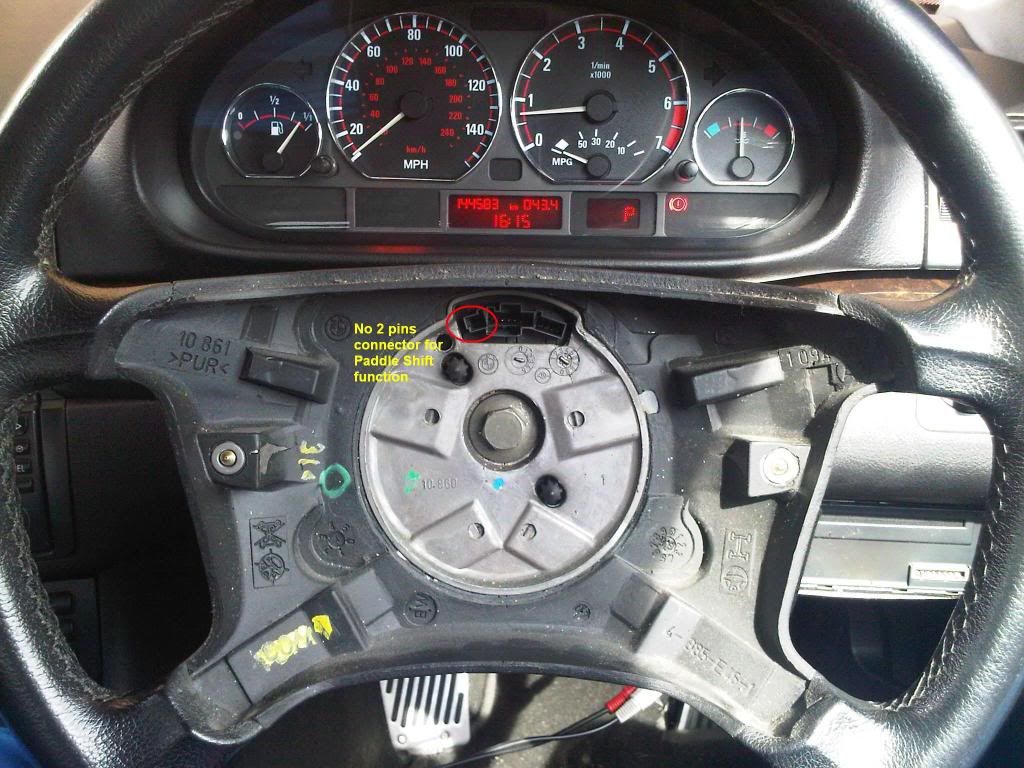
This is the reason why we need to change the clock-spring. Because the original clock-spring doesn't have 2 pins connector for paddle shift
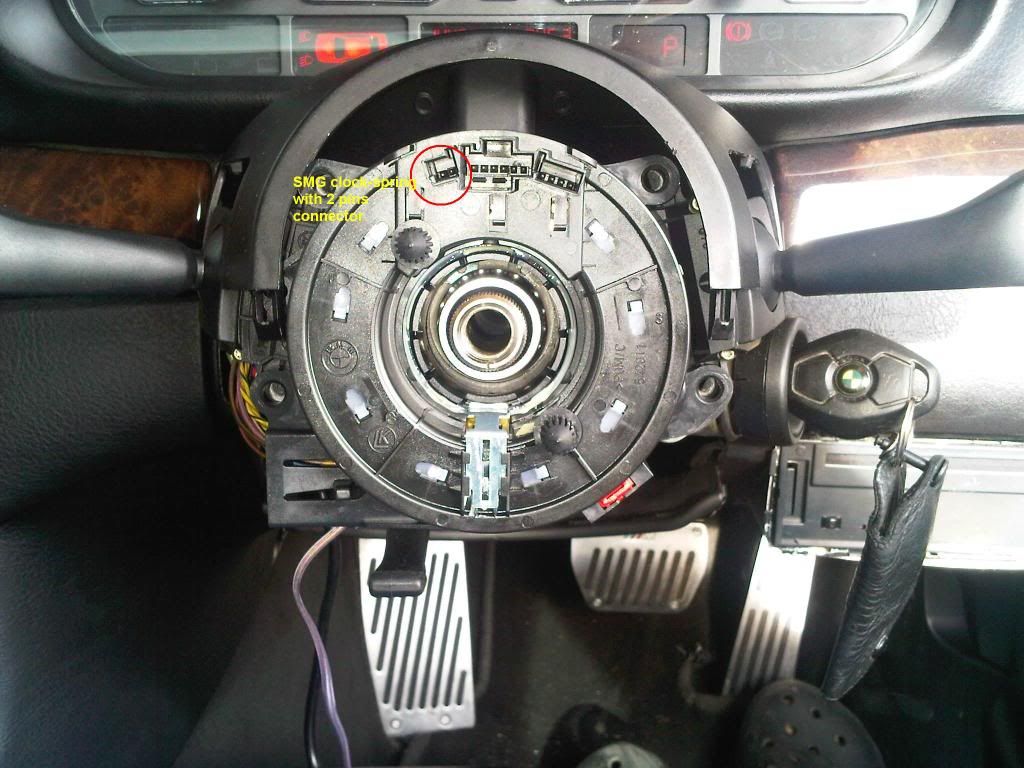
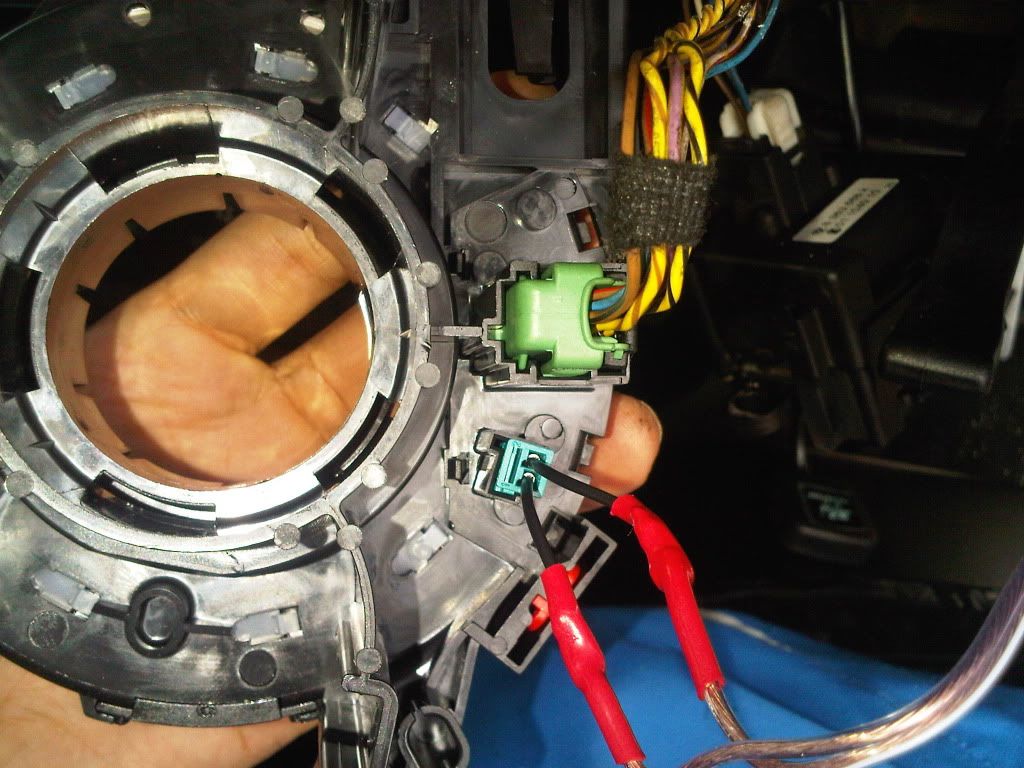
Step 3: Connect the paddle shift wiring harness into the SMG clock-spring
Step 4: By pass the steptronic switch under the gear console
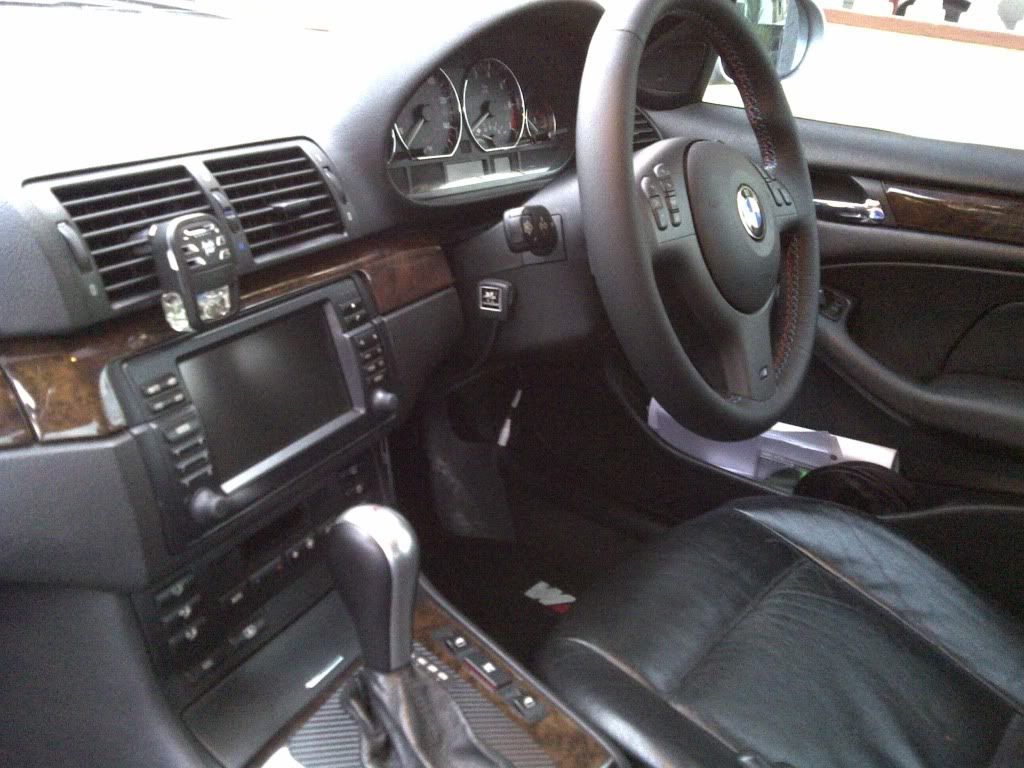
Fit in the new SMG steering. Now it's ready for action.
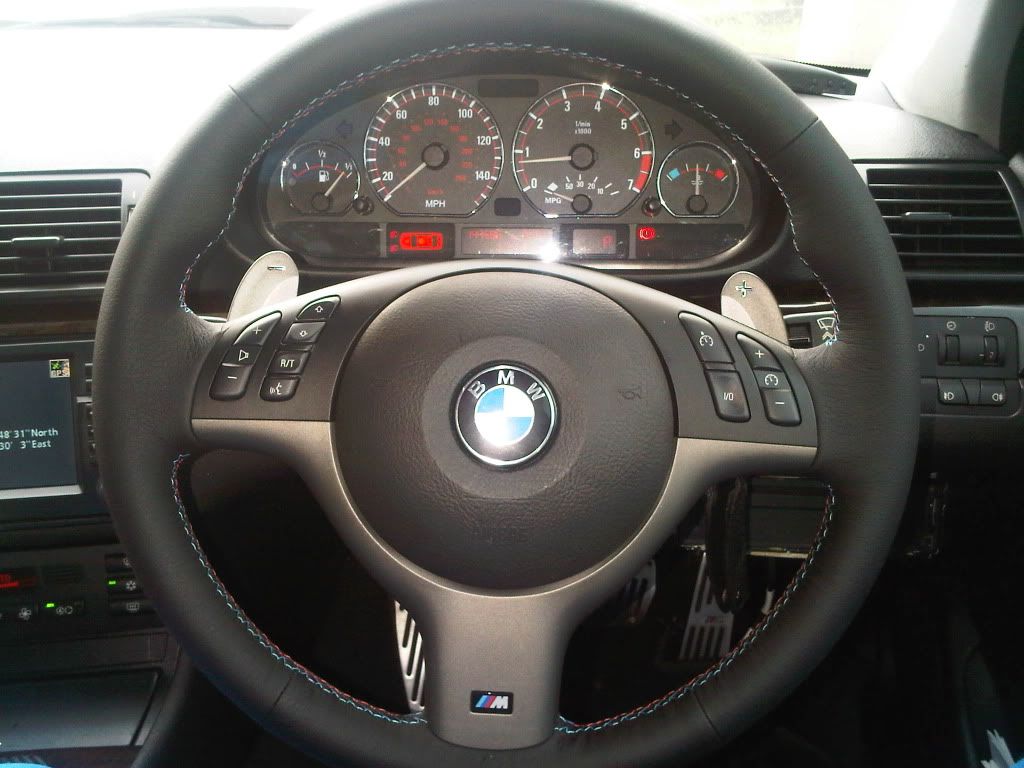
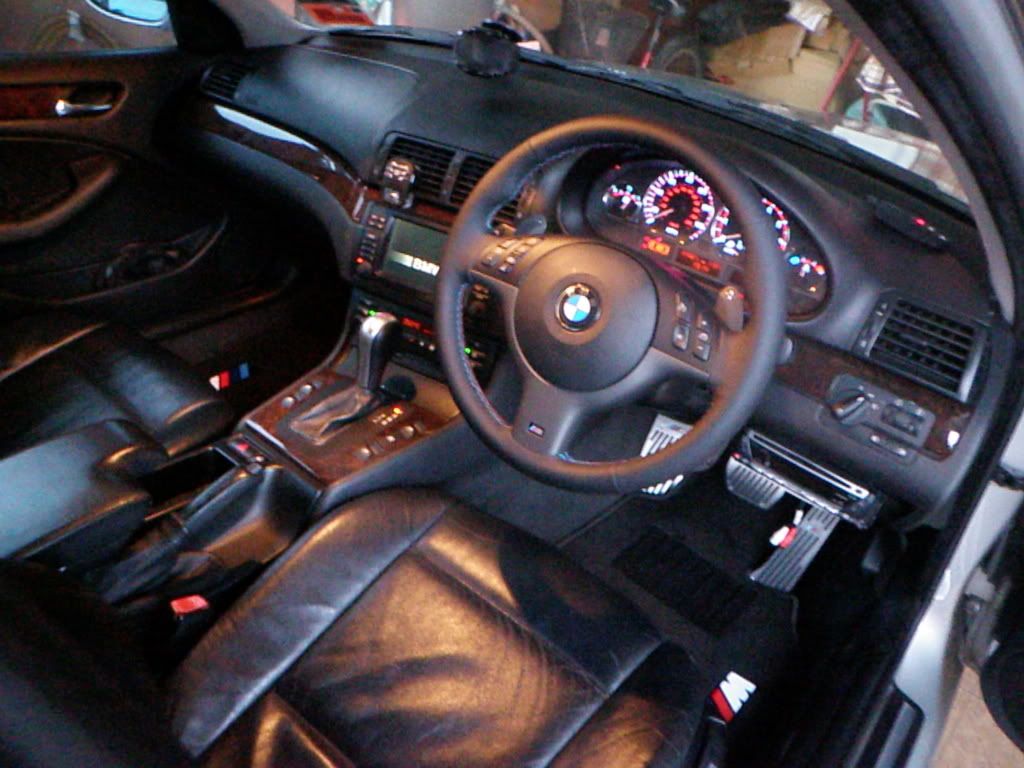

Easy to install. Just plug and play stuff. The paddle shift working as expected. Really happy with this retrofit!
My next mods on my Queen. Bought the brand new SMG steering with Paddle Shift to replace the original E46 328i multifunction steering. Enjoy the retrofitting process!
Received brand new SMG Steering with Paddle Shift. Bought from eBay (Authorize BMW dealer from US)
Manufactured in 2010
Came with tri-stitches lining!
Backside of the steering
Brand new airbag from the same dealer
New clock-spring for the SMG steering to non-SMG car (Steptronic)
Wiring harness for the paddleshift (will tap on the current steptronic mode under the gear console)
Step 1: Remove the original airbag. Looks like really old car though
You'll need the star key driver to remove this
Step 2: Remove the original clock-spring
This is the reason why we need to change the clock-spring. Because the original clock-spring doesn't have 2 pins connector for paddle shift
Step 3: Connect the paddle shift wiring harness into the SMG clock-spring
Step 4: By pass the steptronic switch under the gear console
Fit in the new SMG steering. Now it's ready for action.
Easy to install. Just plug and play stuff. The paddle shift working as expected. Really happy with this retrofit!
hakim_radzuan
Club Guest
- Joined
- Feb 3, 2006
- Messages
- 795
- Points
- 0
nice one bro fireuz!
Fireuz
Club Guest
- Joined
- Dec 9, 2008
- Messages
- 754
- Points
- 18
Ni termakan your racun la ni bro.. But compare to the previous steering, you're right! It's absolutely smaller and convenience on your holds.hakim_radzuan;596634 said:nice one bro fireuz!
B33mEr;596611 said:Excellent mod on the SMG steering wheel and even more props to you Fireuz for DIY (and bro Haywire too) ... I wish i have the guts and skill like you guys to do DIY
Thanks to bro Haywire for sure. I followed his thread on this retrofit as reference. Now feeling like drive a brand new car. Really worth it
irdanlz84
Club Guest
- Joined
- Jan 22, 2007
- Messages
- 139
- Points
- 0
Fireuz;596656 said:Ni termakan your racun la ni bro.. But compare to the previous steering, you're right! It's absolutely smaller and convenience on your holds.
Thanks to bro Haywire for sure. I followed his thread on this retrofit as reference. Now feeling like drive a brand new car. Really worth it
Salam Bro, Pls PM me the US dealer Contact details for the SMG Steering wheel, together with the price, i'm interested to buy one. TQ!
Fireuz
Club Guest
- Joined
- Dec 9, 2008
- Messages
- 754
- Points
- 18
irdanlz84;600673 said:Salam Bro, Pls PM me the US dealer Contact details for the SMG Steering wheel, together with the price, i'm interested to buy one. TQ!
PM sent bro.. Brand new steering and airbag price is much differ than second hand one. For second hand is cheaper, you can rewrap it as new SMG and it'll cost you about RM250. But if you prefer to have the "virgin" on your hold, u are free to go for it. It's all on your hand.
I'm in Singapore right now and I will ring you whenever I'm free in Shah Alam. You can look at mine closer... racunnnn :vroam:
Fireuz
Club Guest
- Joined
- Dec 9, 2008
- Messages
- 754
- Points
- 18
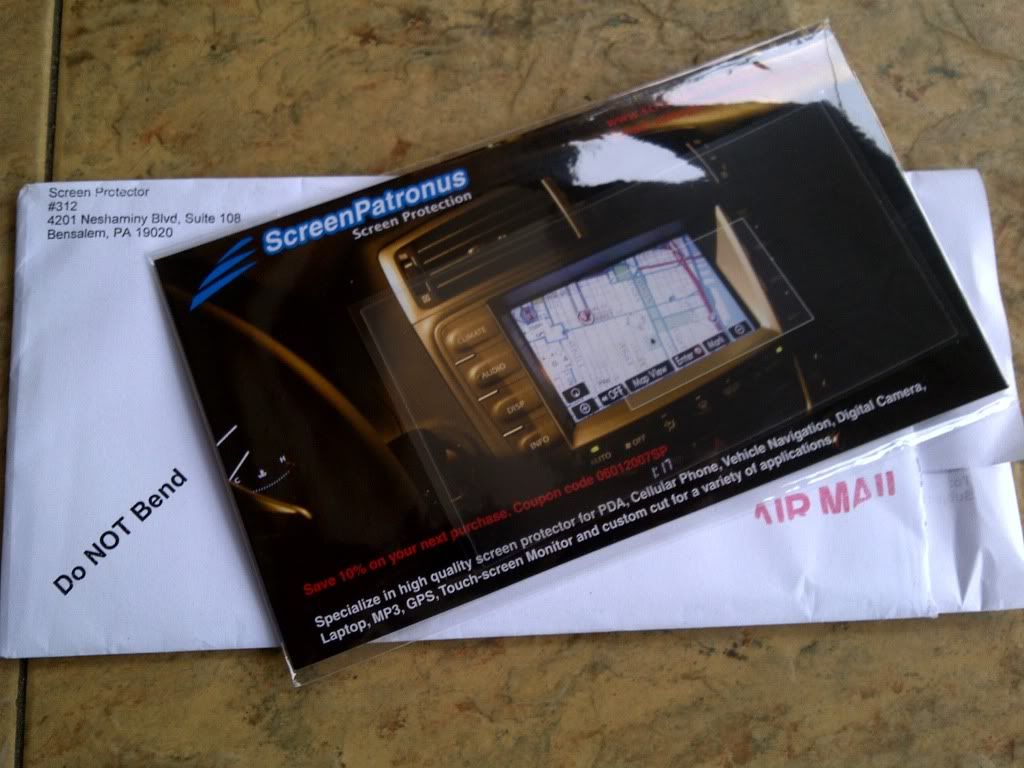
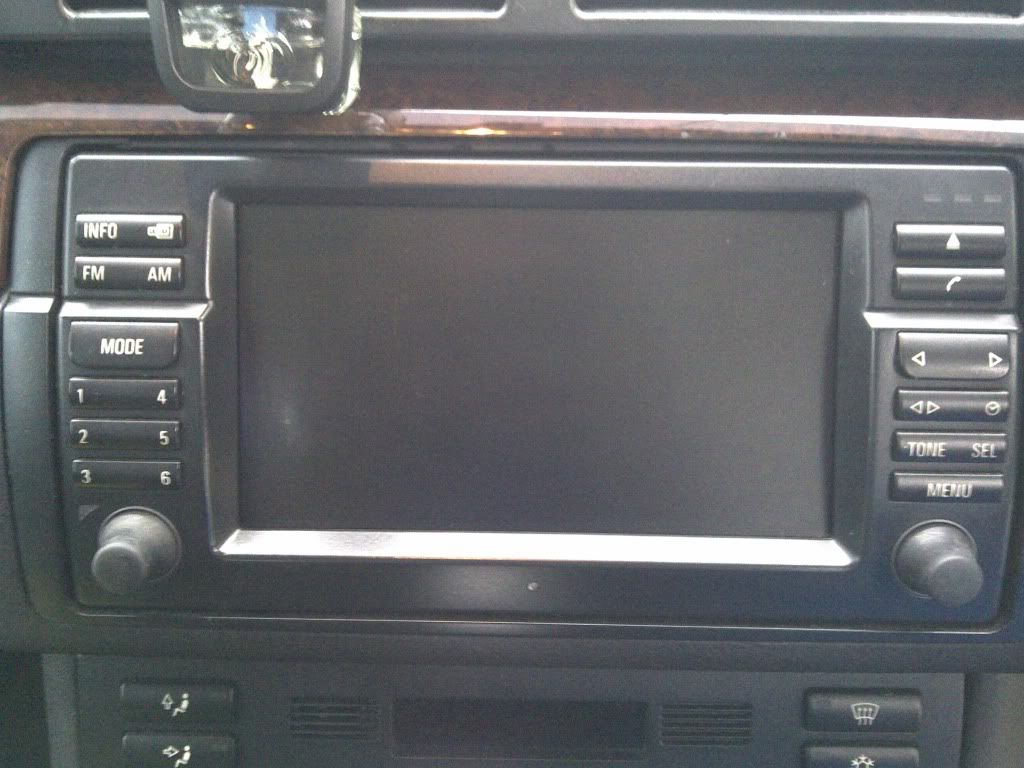
Latest simple update. Install the anti-glare screen protector on satnav.
Stuffs require:
1) Anti-Glare LCD Screen Protector
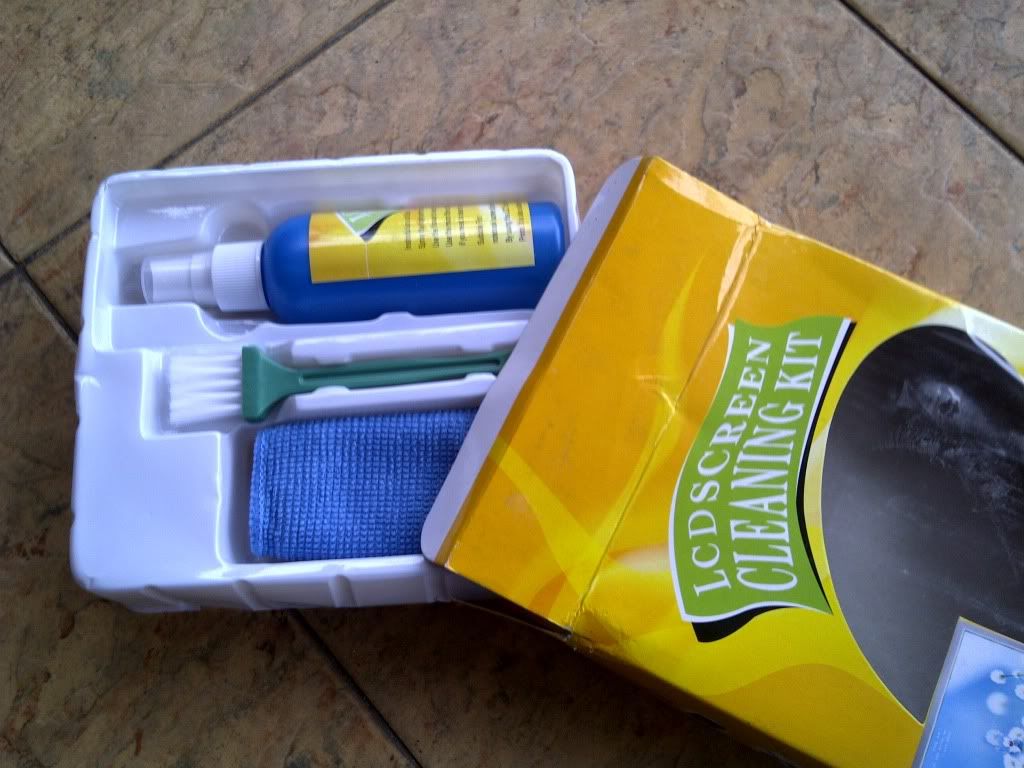
2) LCD Screen Cleaning Kit
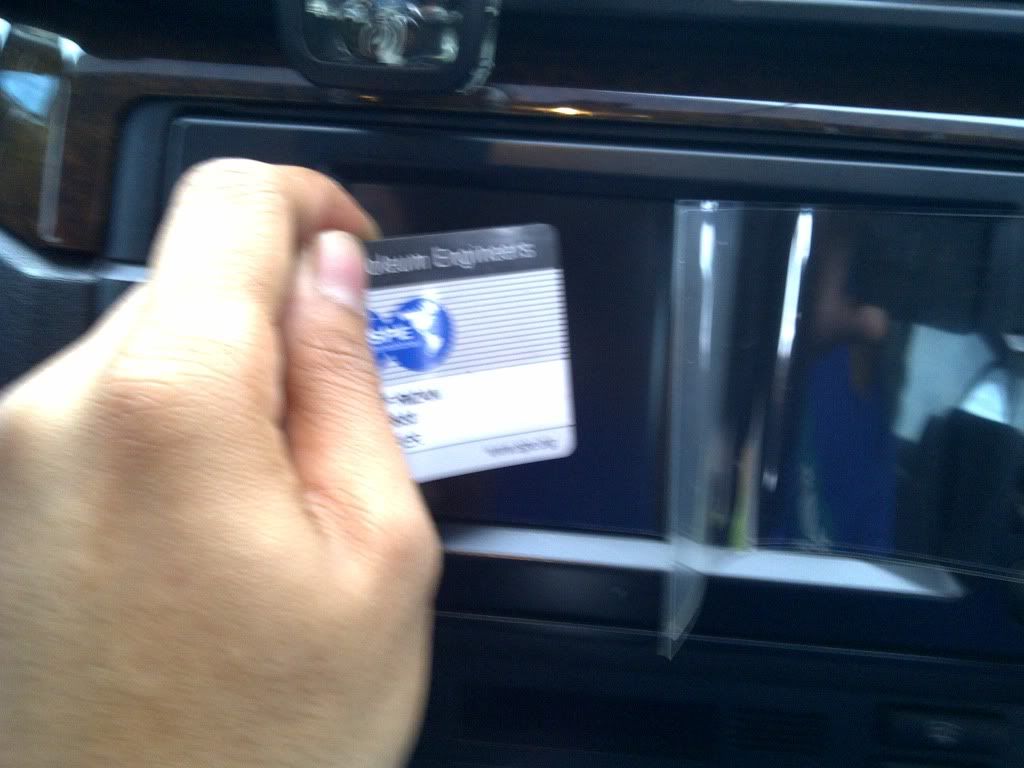
3) Any Membership Card (Flexible Plastic card)
Received Anti-Glare screen protector from eBay (washable).
Prepare the LCD Cleaning kit.
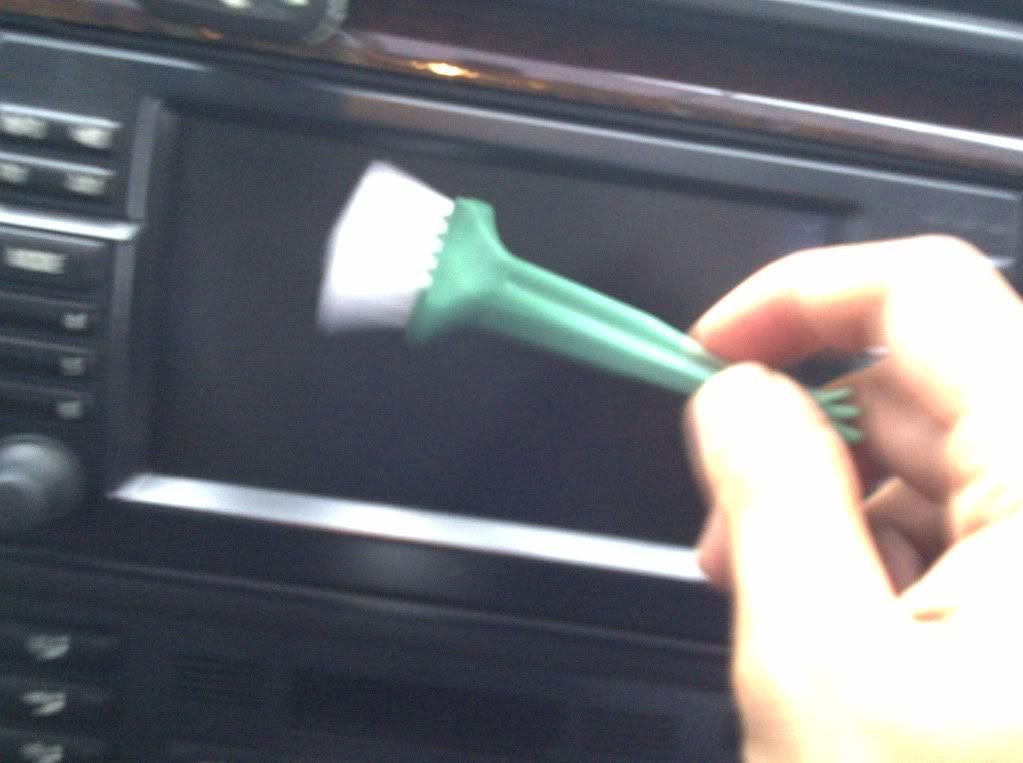
Clean the screen from dusts. Take out the previous screen protector (if any)
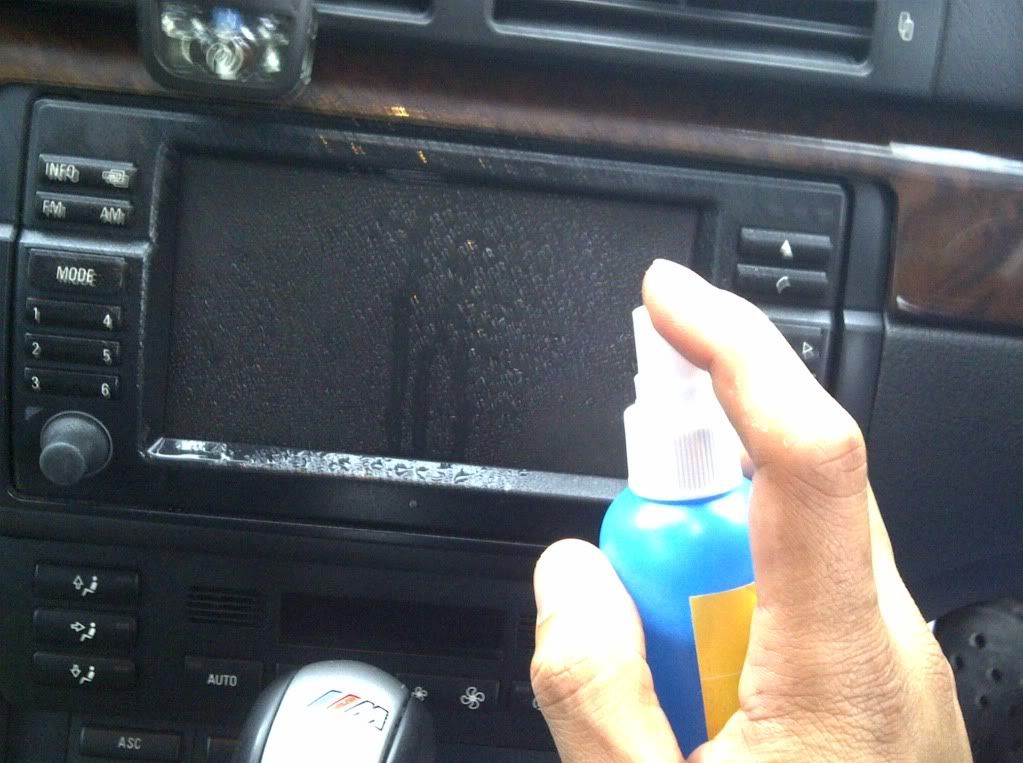
Spray the satnav screen with cleaner.
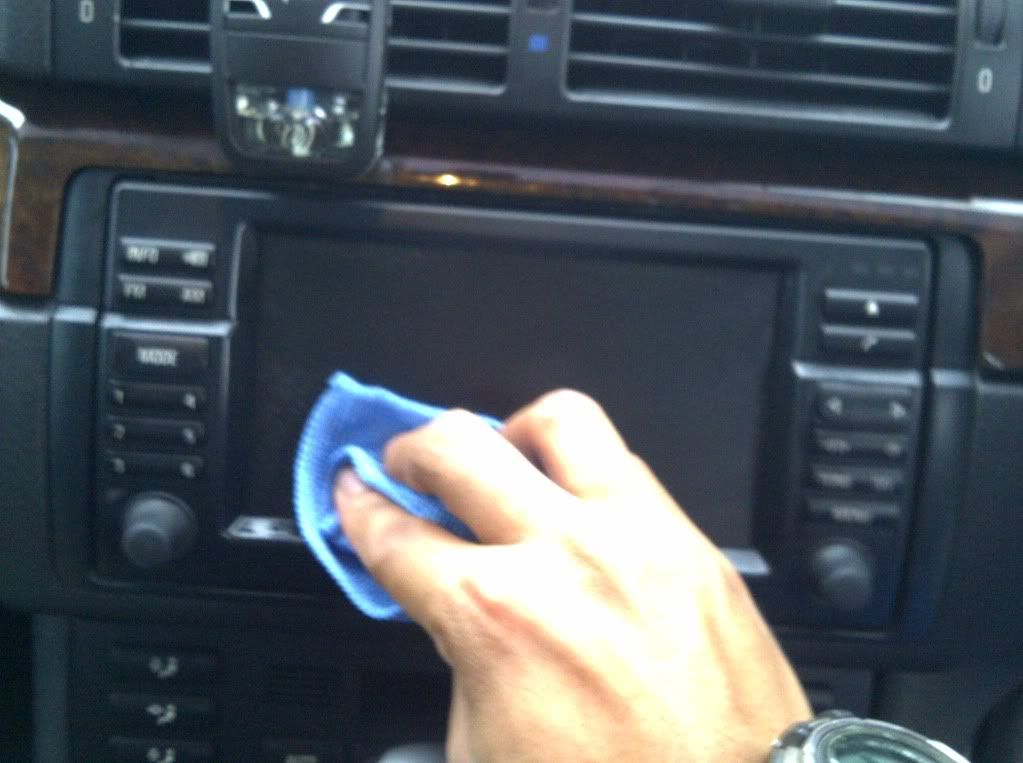
Wipe the screen to make sure no more dusts and unwanted scratch mark.
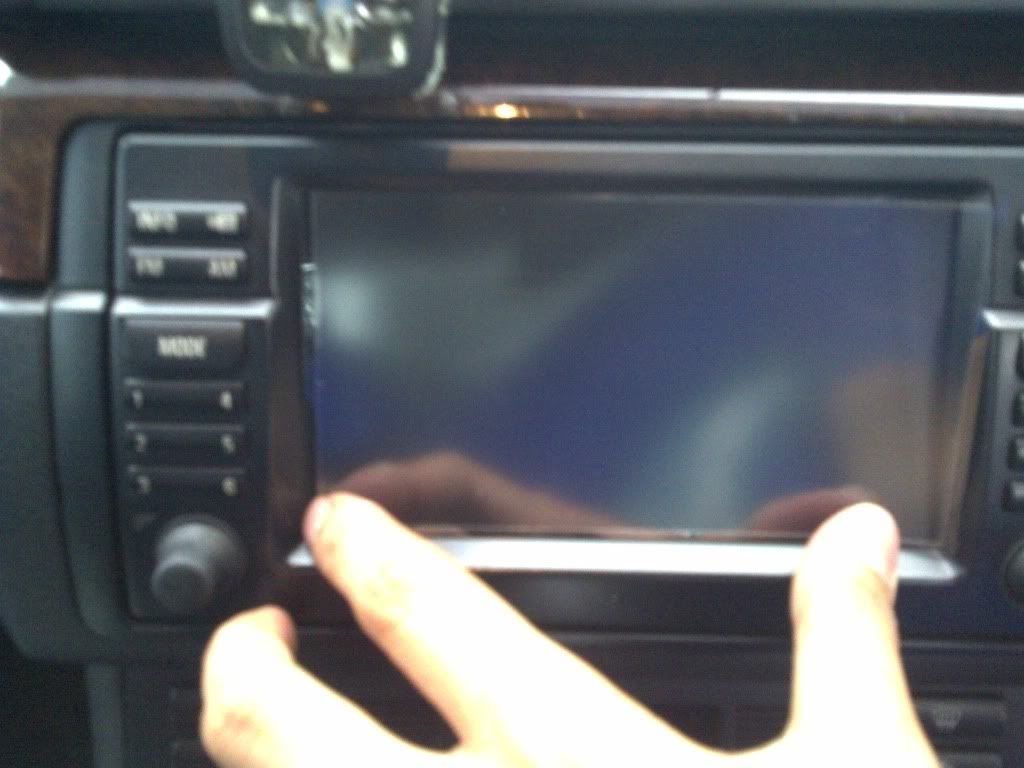
Fit in the Anti-Glare protector.
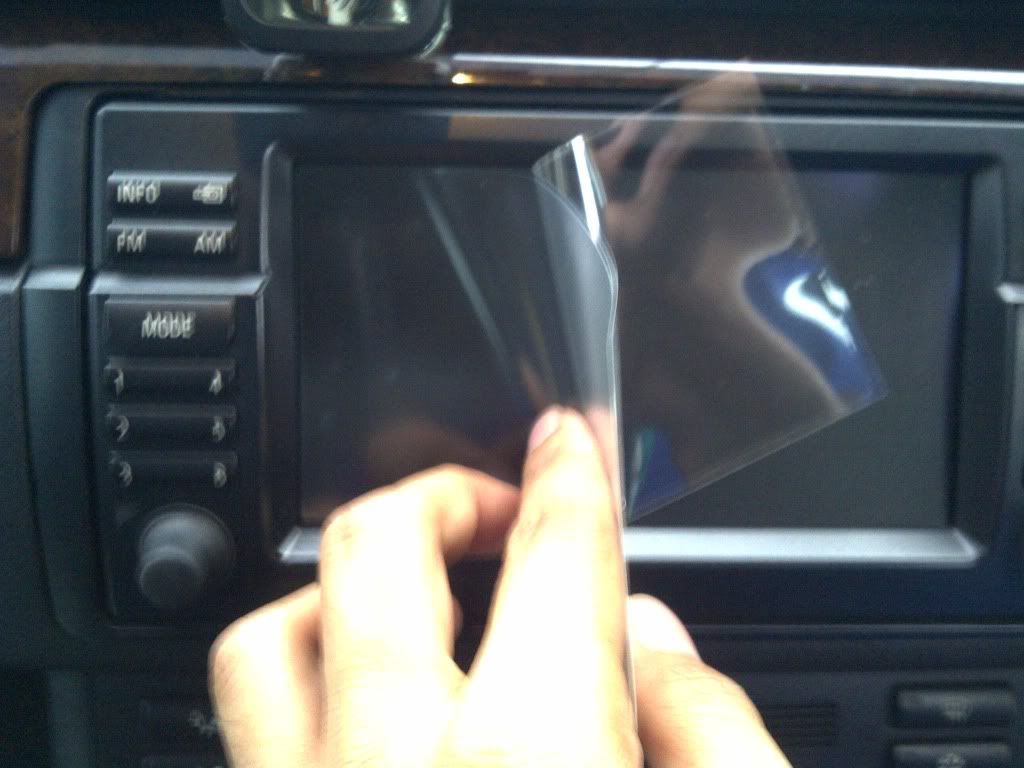
Stamp the screen protector from side to the other side using the membership plastic card
FINAL RESULT:
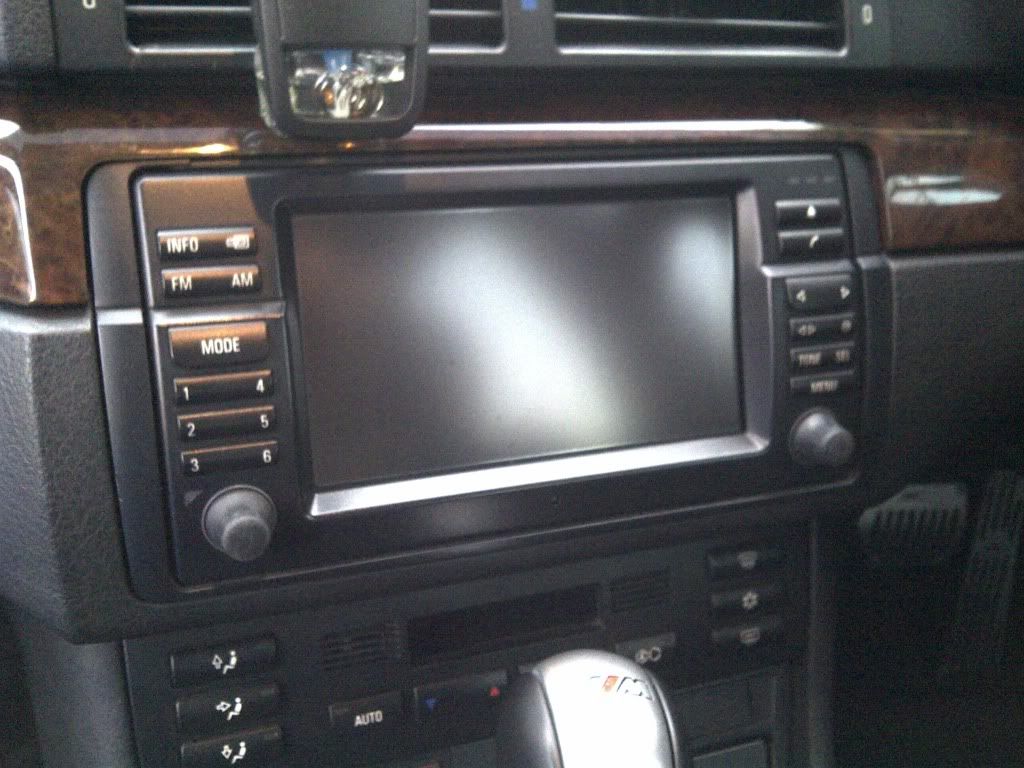
TOTAL COST: RM 50.00
Stuffs require:
1) Anti-Glare LCD Screen Protector
2) LCD Screen Cleaning Kit
3) Any Membership Card (Flexible Plastic card)
Received Anti-Glare screen protector from eBay (washable).
Prepare the LCD Cleaning kit.
Clean the screen from dusts. Take out the previous screen protector (if any)
Spray the satnav screen with cleaner.
Wipe the screen to make sure no more dusts and unwanted scratch mark.
Fit in the Anti-Glare protector.
Stamp the screen protector from side to the other side using the membership plastic card
FINAL RESULT:
TOTAL COST: RM 50.00
aidilj
Official Member
- Joined
- Jul 3, 2010
- Messages
- 2,291
- Points
- 0
bro Fireuz, what's your impression on the anti-glare screen protector before and after application.. Would like to hear your thoughts about it. Mine is like the protector is dispersing/diffracting the reflected lights instead of being almost like a mirror before.
Fireuz
Club Guest
- Joined
- Dec 9, 2008
- Messages
- 754
- Points
- 18
aidilj;625917 said:bro Fireuz, what's your impression on the anti-glare screen protector before and after application.. Would like to hear your thoughts about it. Mine is like the protector is dispersing/diffracting the reflected lights instead of being almost like a mirror before.
Almost the same case like yours I guess. Before, the screen is more like a mirror, it's even harder for me to watch the screen especially in bright room condition (where there is light source). But now with this anti-glare, what I can say, no more mirror view that disturb my observation on the screen.
IMHO, we need to choose the correct type of screen protector before buying. If I'm not mistaken, the one that show the mirror view is more suitable for the LED screen (Handphone, iPad, etc) as LED produce the brighter illumination to against the surrounding light. But for the LCD screen, protector with Anti-Glare is more suitable becoz it'll disperse the light, instead of spread it like mirror, as the illumination is not too bright to against the surrounding light source. Correct me if I'm wrong.
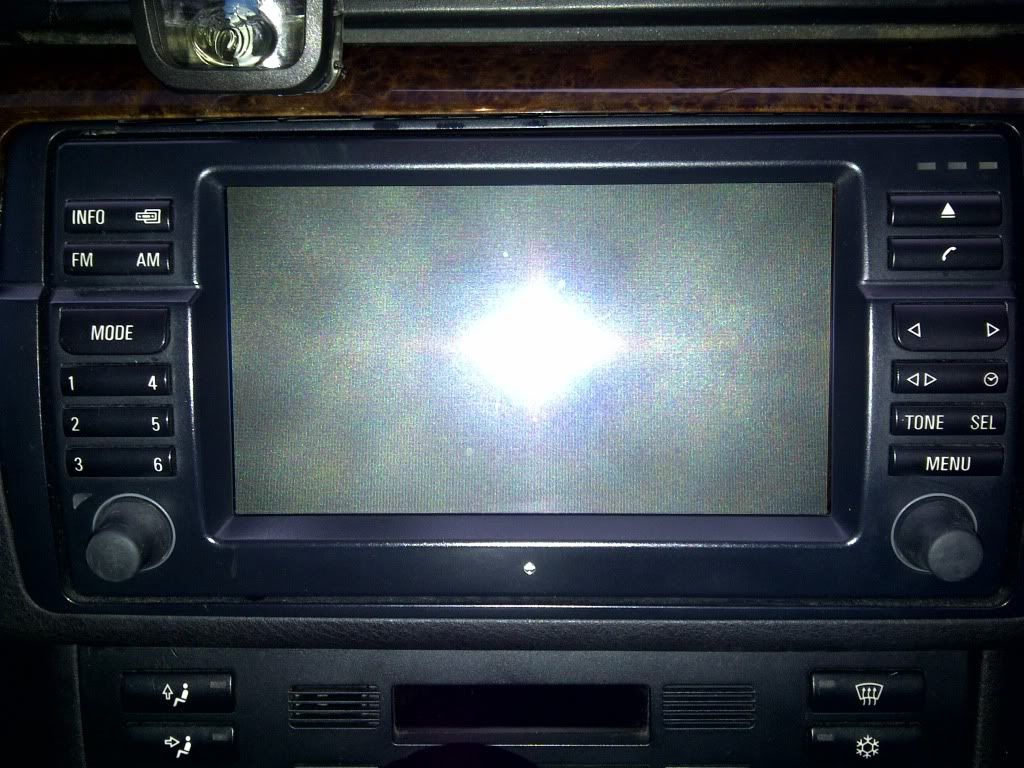
This is the different pix before and after the anti-Glare installation:
Before:
After:
SilverBullet
Club Guest
- Joined
- Feb 27, 2008
- Messages
- 1,538
- Points
- 0
nice DIY bro..is that the only update you have? *wink wink*
hehehe...
hehehe...
Similar threads
- Replies
- 1K
- Views
- 128K