HI Seenotype
good that u seek other opinion and ask around
I would strongly suggest u not to do any impulsive action ...... few things u need to take note
every head lamp is injected plastic ....t is made from a hot injected mold...... and the outermost surface is the hardest coat, once it turn oxidizes or you remove it...ta ta....it will turn oxidation sooner than u expected
less is more
i would only suggest your head lamp to be corrected and Opticoat to seal it permanently
My buddy went off overseas for some years & upon return he found his pair of Xenon Head lamp
as they have too many cars but very less of shaded place
the last series, in my Hands on Car detailing clinic , we talk about restoring oxidized Head Lamp...due to car wash ...aggressive sanding by road side ..... due to wear & tear
http://www.zerotohundred.com/newforums/car...g-guru-kcs.html
BUT as for this pair.....it was hardly washed by others, hardly driven at night but still the damages
so, he went to check out this pair of replacement Xenon - it cost more than RM8k
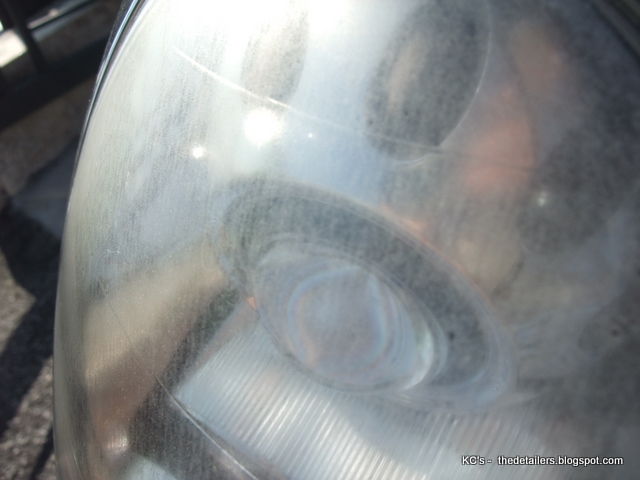
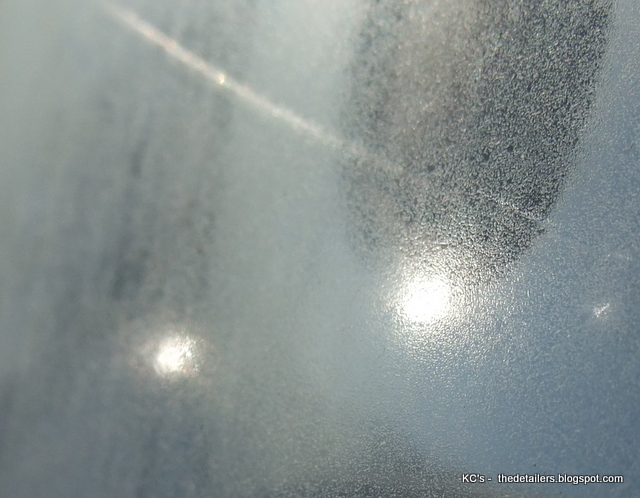
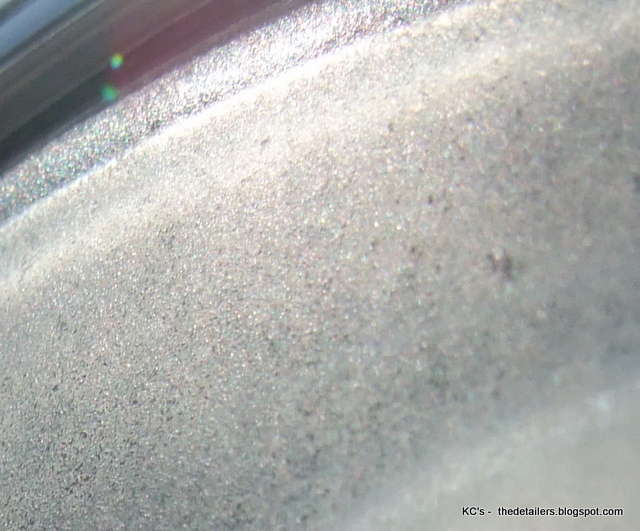
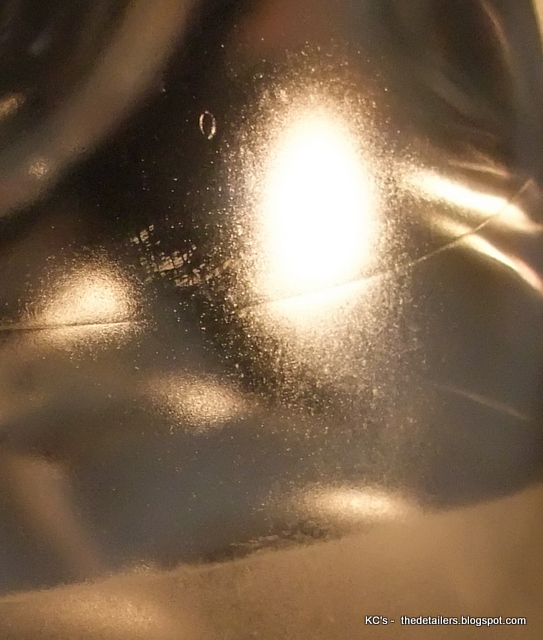
look at the extreme close up pic (was shot by a PAS camera)
evenly chalked up by mother nature threads
completely washed out by Mother nature ( as we are in Tropical Rain forest - full with acid rains as well)
extreme close up
-----------------------------------------------------------------------------------------
I always like to take up impossible task, as if I fail....no one can blame me....but If i succeed ...It must be the Higher hands
after polished with PlastX Clear Plastic with rotary, both wool & foam pad at 1500 rpm
ta da
....isnt that a money shot????? convincing enough
another extreme make over
close up
how can I just walk away (closing a blind eye) - although it only took me less than 30 minutes to get each side done.......
I CHOOSE NOT.... but FACING THE GIANT
Facing the Giants - Wikipedia, the free encyclopedia
inspired and reminded by this movie......i took up the challenge
for the next 4 hours.....
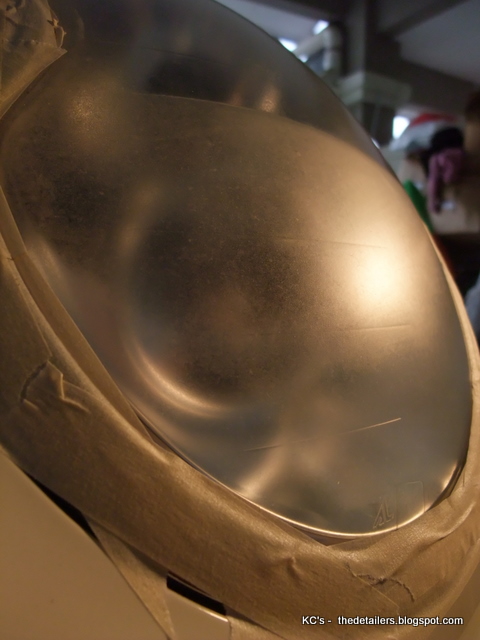
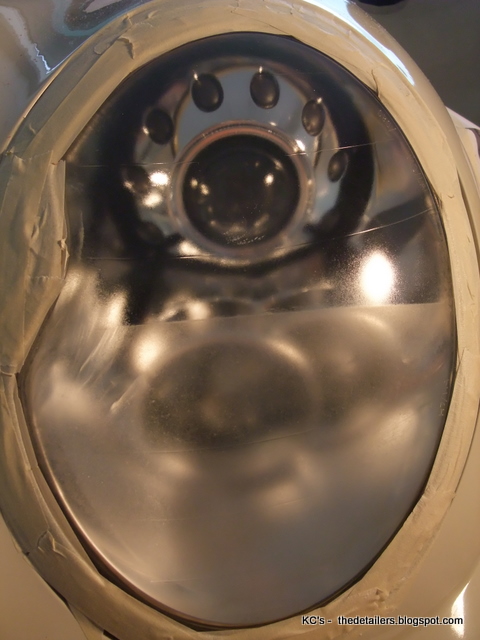
taping the side of the paint & chrome parts.....ensuring it is protected when sanding take place - safety come first
1. after taping non affected area (3-4 ply of taping)
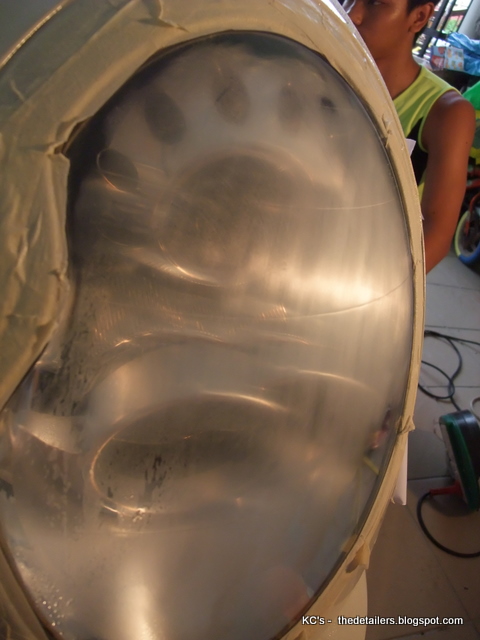
2. SANDING begin Lube with ONR (invest in a sanding backing plate - i trim in smaller for these curvy areas)
2a. Begin with - 1500 grit
2b. followed with - 2000 grit
2c. Finish off with -2500 grit
an evenly sanded pic
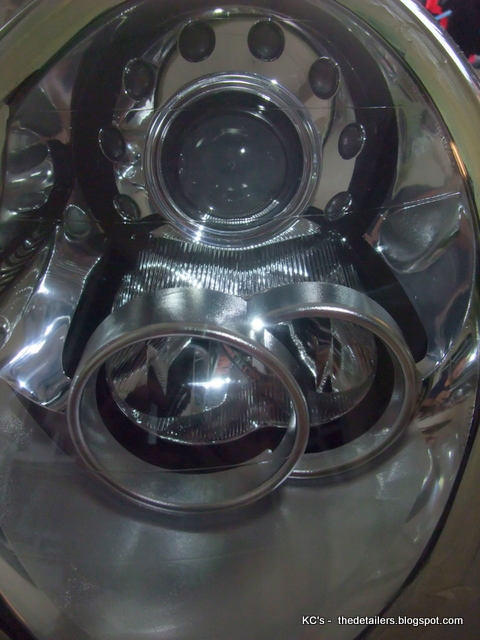
Restoration continues with polishing off
Opt Hyper spray Compound - OPT double side wool Pad then Step down to 3" wool pad @ 1500 RPM rotary
finishing off with OPT Hyper spray polish - OPT double sided foam pad & 3" polishing pad @ 1200 rpm finishing at 600 rpm
ta da
it was OPTI COAT protected
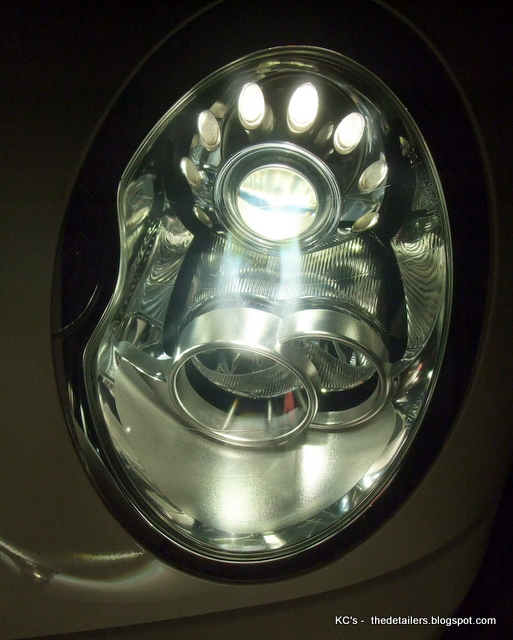
tested with fire - xenon lighting
I could have save my time & effort by walking away.....
to face or not to face......that thin line make a huge difference....
thanks for viewing yet another head lamp restoration guide
cheerio
All the best ....in yr attempts
read more here
http://www.bmwclubmalaysia.com/foru...MONSTER-There-is-no-way-Must-change-a-new-one