al3dx
Club Guest
- Joined
- Aug 22, 2007
- Messages
- 269
- Points
- 0
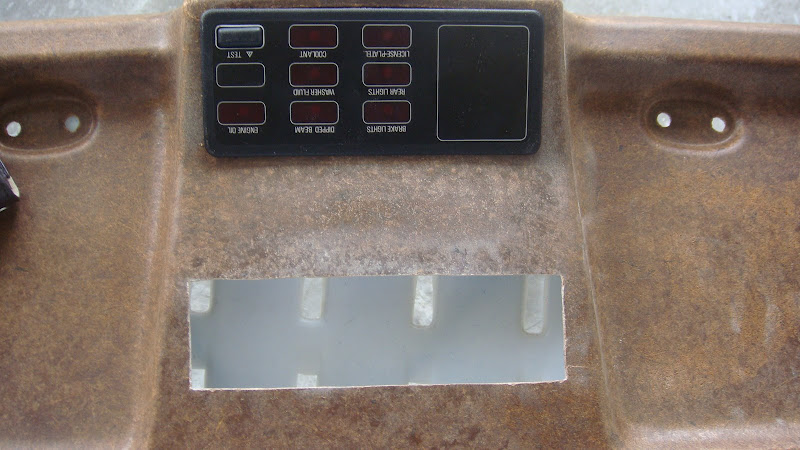
Since i cant access into the DIY forum link...I decided to post my DIY into E30 Forum Link...Enjoy you guys....Sounds cheesy... But i did it my self...Basically I intend this DIY project to Brighten my Front Interior...All i spend was RM96...All i need is:- E36 Interior Lights = RM80 (Thanks To Nick Who sold it to me)- High Performance Adhesive Gum = RM10 (Can buy in Hard Wear Shop)- Small Paint Brush = RM6- A little bit of Guts To do it = RM0 (Free)At 1st i thought it was hard to do..but then again once you get a hang of it..It's easy... + Fun...Going to the DIY Project:1. Take out your E30 Roof Panel. (The one where your Check Light is mounted on)
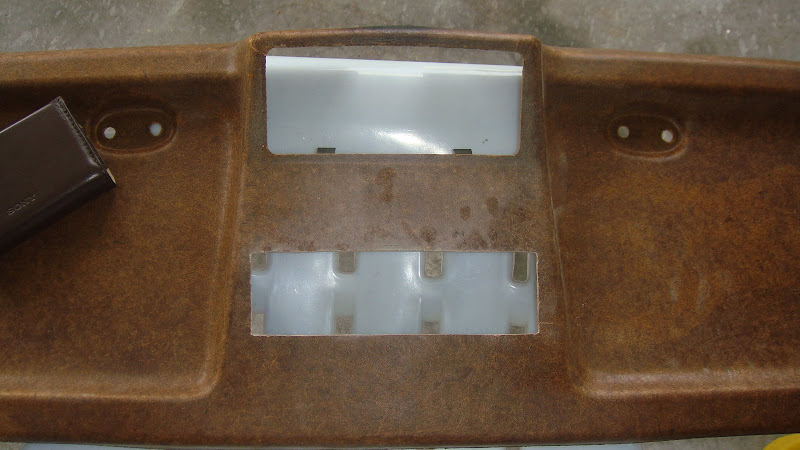
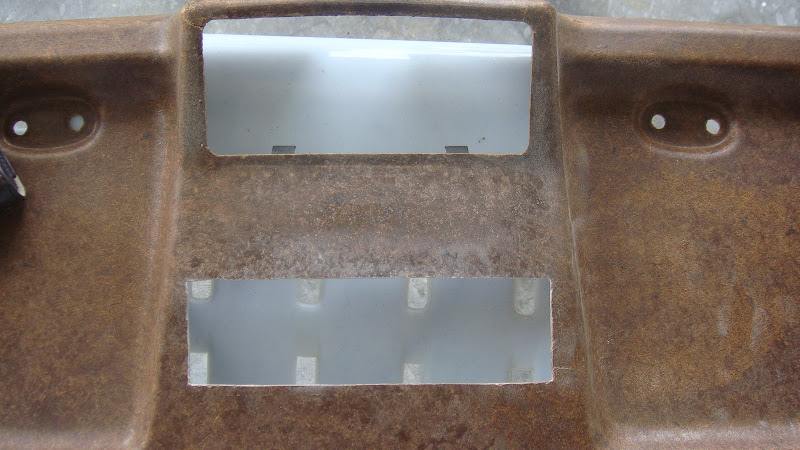
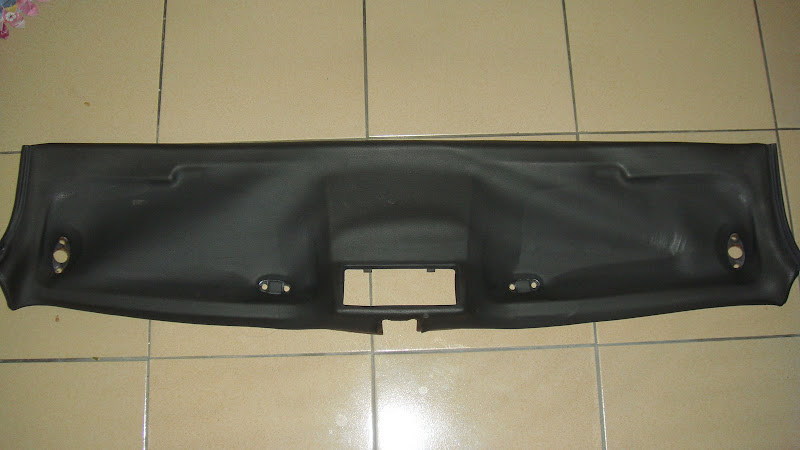 In other case...This will be mounted on/in here...
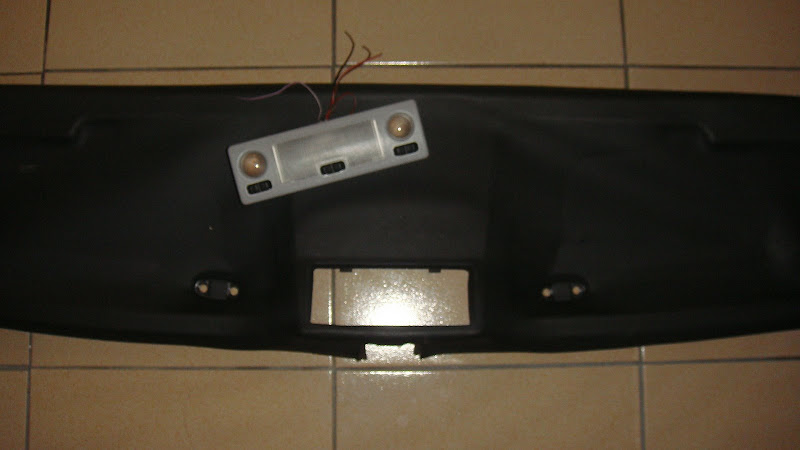 2. This is optional to do 1st.... Either you can strip off the leather 1st or leave it on... But i decided to stirp the leather off... In other case... I am scared that i'll damage the leather... After that I measure the center of the panel & also the size of the E36 Interior Light's Mounting hole...
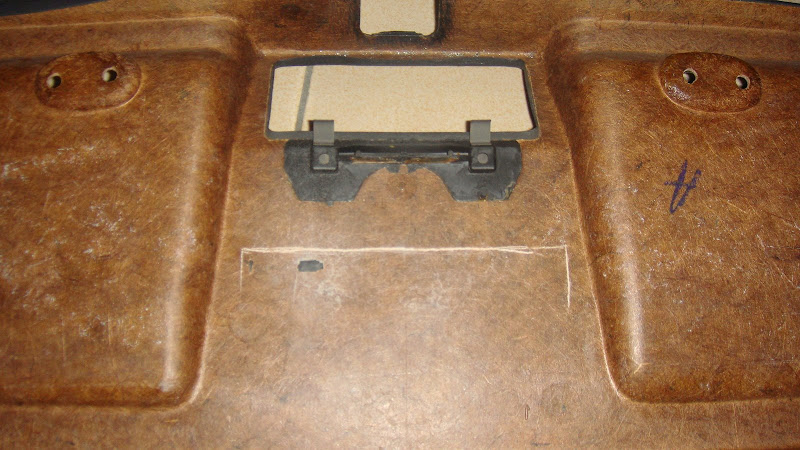
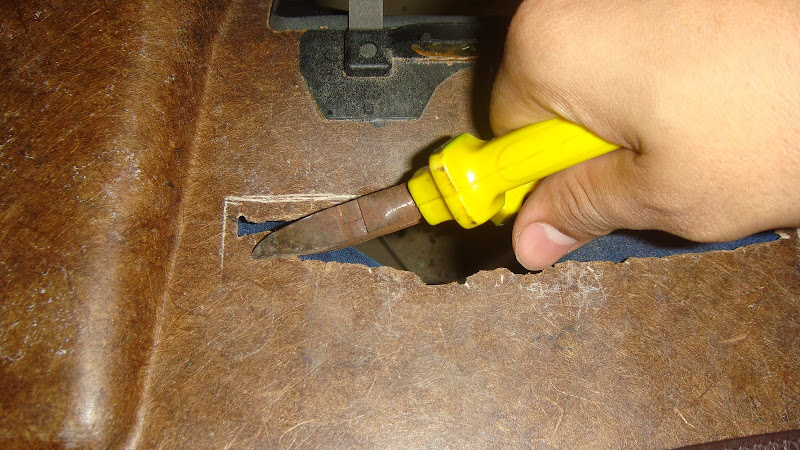
 3. So once the marking is right... By the way... Be sure to increase the measurement by 2mm because the leather once put back in place will take some space.. In anycase... Make a hole in the middle of the cut part slowly.. Be sure not to break it... Then i use a Wire cutter & Slowly cut of the access piece that i dont want... Again Slowly... Not to break it.... Make sure not to cut it over the marking...
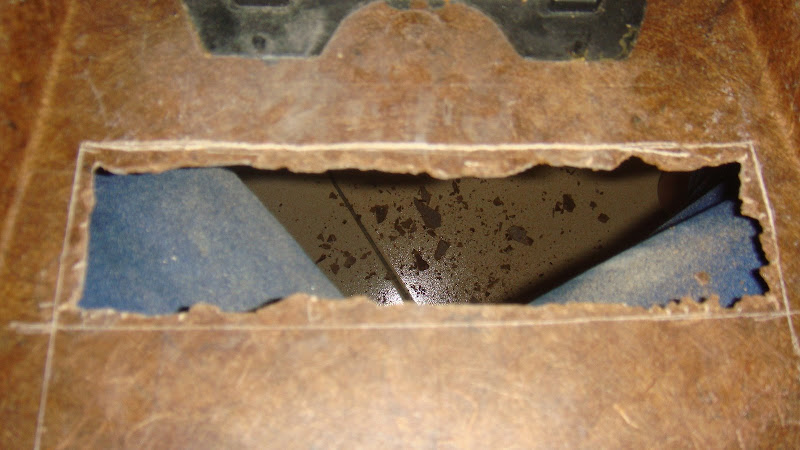
 Once already cut, it will look like this:
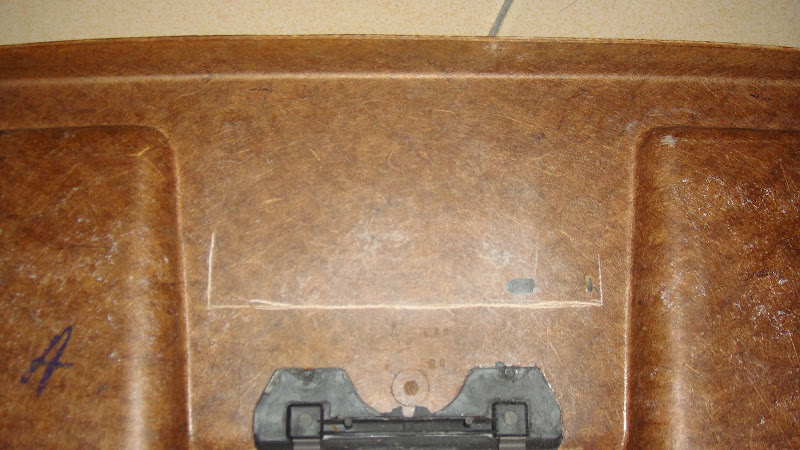
 4. Use a Wood/metal File ( Don't know how to spell) But it's to make sure that the surface of the cut aged is smoothed out...
 Ok here is the thing...I use a nail file for this picture, because i had to return the borrowed wood/metal file back to my friend...But again... as you do it... do it with care... Don't Break It..After the long hour of care service...Here it should look like...
 http://lh5.ggpht.com/_TNb7GHpzyLQ/ShGmQuwZ-nI/AAAAAAAAA0k/zImbaA9tDxg/s800/0011.JPGhttp://lh6.ggpht.com/_TNb7GHpzyLQ/ShGlygVqJZI/AAAAAAAAAz0/EN77AvOTtkM/s800/0012.JPG5. Now it's time to put back the leather... Because i strip off the leather... so now i have to put it back... Beside... The leather is kinda loose... so i'm in the same time making it tighter... This is what i use...http://lh4.ggpht.com/_TNb7GHpzyLQ/ShGmVQZBUQI/AAAAAAAAA0o/ZEgGzZderxE/s800/0013.JPG I quote the whole panel with the gum once, then after 2 minute, I quote it again... for the 2nd layer...I don't know about what you guys think...But to me... I think the 1st layer helps make the panel more stronger... Thus the 2nd one make it easyer to stick the leather on...and it help...That's me in action by the way...http://lh6.ggpht.com/_TNb7GHpzyLQ/ShGmdKLUJuI/AAAAAAAAA0w/EZa5T51s7WA/s800/0014.JPGMaking the edge, Tighter....http://lh4.ggpht.com/_TNb7GHpzyLQ/ShGmg0l3u0I/AAAAAAAAA00/AmPAxcZ1is8/s800/0015.JPGNip & Tuck....By the way, That's the file i used.....http://lh6.ggpht.com/_TNb7GHpzyLQ/ShGmlm4OXjI/AAAAAAAAA04/-ESgakC9oQU/s800/0016.JPGOnce Finish... It will look like this:http://lh4.ggpht.com/_TNb7GHpzyLQ/ShGmYfHZH5I/AAAAAAAAA0s/YMck0dUmE7o/s800/0017.JPGThen leave it to dry for 1 hour or less...I went out with my friends for lunch and came back in an hour so yeah...http://lh3.ggpht.com/_TNb7GHpzyLQ/ShGlscLsGII/AAAAAAAAAzw/7Dzpc1-2Nj0/s800/0018.JPG6. Cutting the leather... This I did not take any picture... Because i forgot... But anyways... From the back you cut off the hole... Take a pen knife and cut it open like an X marking.... So that the leather can be spread north, east, south, & West... Then cut of the excess part and leave a short strip to glue it to the panel... Again Nip & Tuck... After doing it... You can now fit in your E36 Lights... This is how it look's like...http://lh4.ggpht.com/_TNb7GHpzyLQ/ShGmpO6-aEI/AAAAAAAAA08/luDcHnfZtJw/s800/0019.JPGFrom the back...You can see compare to the other side of the panel is not as dark as the one's near the hole..I quote another layer of gum on it to strengthen it... http://lh3.ggpht.com/_TNb7GHpzyLQ/ShGmzBq9SyI/AAAAAAAAA1A/WM9XjY4liL0/s800/0020.JPG7. Wiring part.... Here is the best part.. Again i have to apologize for not taking any pictures of this process... Again... I forgot... All you have to do after this is get a male/female head wire connector... For The DOME LIGHTS ( The 2 Side Lights )Use the wire from your Check Lights..... Find The Direct Positive Wiring... It's PURE RED... Then Find The Direct Negative Wire.... It's PURE BROWN.... (For The DOOR LIGHTS (The Single Middle One)This one i have not done yet.... because i have not found the wire to suit it.... So i'll post this after i'm done with it....But after a few research of my own... I have to extend the wire from the 2 interior lights Originally from the E30.. I can use either one...But let's leave that on the side 1st shal we.... If you can't do the wiring... Then better find a wire man who can do it for you.... Once it's done... Connect the wire based on it's connection.... Mount everything back in place.... Connect back the check light.... The door seals and so on....Thus it will look like this:http://lh5.ggpht.com/_TNb7GHpzyLQ/ShGm2nllS-I/AAAAAAAAA1E/zY0gzUG-HY4/s800/0021.JPGhttp://lh5.ggpht.com/_TNb7GHpzyLQ/ShGm6aneMmI/AAAAAAAAA1I/wmEs2o0WFIw/s800/0022.JPGhttp://lh5.ggpht.com/_TNb7GHpzyLQ/ShGm_ZMuFpI/AAAAAAAAA1M/2overO5hNpA/s800/0023.JPGThus saying... YOU'RE DONE!!!!!Here is The Result As For Me.....!!!!!!BEFORE!!!!!I had to use flash... because it's too dark...http://lh4.ggpht.com/_TNb7GHpzyLQ/ShGnE66_VxI/AAAAAAAAA1Q/49qzqOsimfs/s800/0024.JPGAFTER!!!!!!!http://lh6.ggpht.com/_TNb7GHpzyLQ/ShGnJox6SmI/AAAAAAAAA1U/ed21L8Tx8aE/s800/0030.JPGThis is how it will be in your ride....http://lh4.ggpht.com/_TNb7GHpzyLQ/ShGnMZx5WrI/AAAAAAAAA1Y/1aQCGpq3yxs/s800/0025.JPGhttp://lh6.ggpht.com/_TNb7GHpzyLQ/ShGnOKgQ0qI/AAAAAAAAA1c/6zrvcAA95vQ/s800/0026.JPGhttp://lh5.ggpht.com/_TNb7GHpzyLQ/ShGnSj2huRI/AAAAAAAAA1g/rNsrygTQZDA/s800/0027.JPGClean Look....!!!!!http://lh6.ggpht.com/_TNb7GHpzyLQ/ShGnXYsHqaI/AAAAAAAAA1k/HHpTeD97rnU/s800/0028.JPGHappy As A Child Laughter....Job Well Done.....http://lh4.ggpht.com/_TNb7GHpzyLQ/ShGnbsvApGI/AAAAAAAAA1s/IjF_d9vqZzU/s800/0029.JPGBy the way....Adjust the Front downwards a bit or you can place a piece of leather under it... so that it wont shine directly to your face....I Felt happy & satisfied after installing it, Thus going through the time of doing it.....Good luck you guys if you want to do it....
